
A quick note: this post contains affiliate links. If you buy through them, I may earn a small commission at no extra cost to you — thank you for supporting the blog.
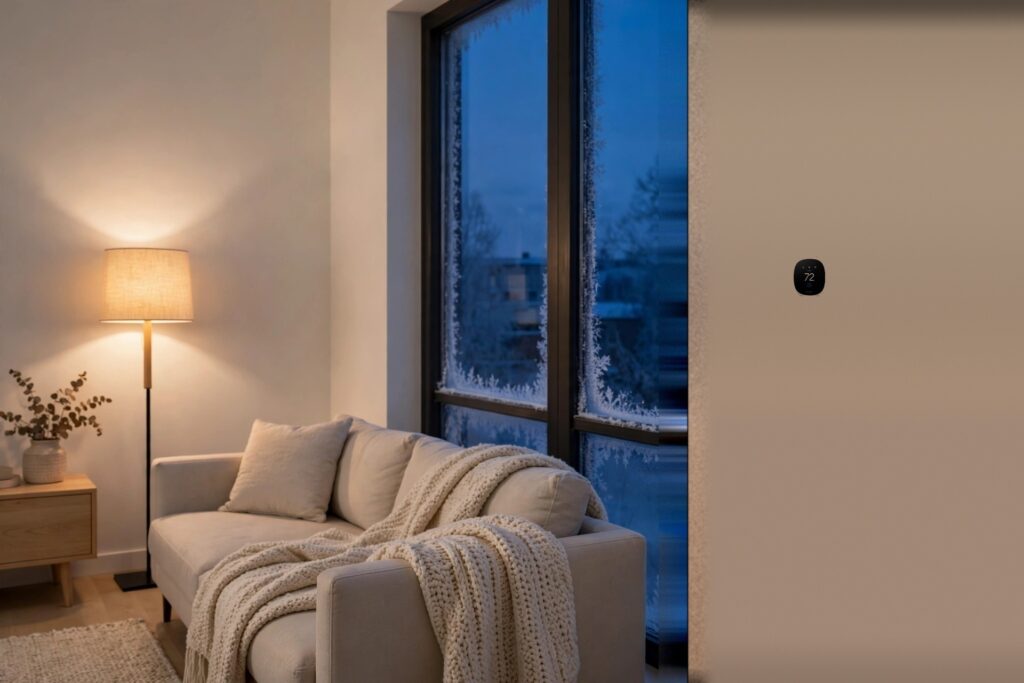
There is a particular week in late September when the mornings turn crisp, the furnace kicks on for the first time, and you quietly do the maths in your head. Heating accounts for roughly 45% of the energy bill in the average Canadian home, and the season stretches from now all the way to May. That is a long time to be overpaying.
The good news: you don’t need a renovation. The biggest winter savings usually come from a handful of small, calm upgrades — the kind you can do on a Saturday afternoon without turning your home into a construction zone. Here are four I genuinely recommend, in order of impact.
1. A smart thermostat that learns when you’re not home
If you only make one change before winter, make it this one. A traditional thermostat heats an empty house all day; a smart thermostat notices when you leave, adjusts itself, and has the house warm again by the time you’re back. ecobee claims its thermostats can cut heating and cooling costs by up to 23% (versus a 72°F hold — a manufacturer claim, so take it as a best case rather than a promise).
My pick for most people is the ecobee Smart Thermostat Essential. It’s the affordable entry in ecobee’s lineup — Energy Star certified, with a colour touchscreen, auto-away and auto-scheduling, and compatibility with Siri, Alexa and Google Assistant. It works with around 85% of systems (check their compatibility checker first if you have an older setup), and this model needs no C wire and no batteries, which removes the two biggest DIY hurdles.
Two things make this especially Canadian right now. First, ecobee is a Toronto company — your purchase stays a little closer to home. Second, fall is rebate season: several provinces and municipalities offer smart-thermostat rebates (I’ve seen figures from $50 up to a few hundred dollars depending on the program), so check your local utility before you buy. A $140–$180 thermostat that gets you a rebate and shaves your biggest bill is about as sensible as home upgrades get.
One honest caveat: it’s not compatible with line-voltage (110/220 V), millivolt, or 0–10 VDC systems — mostly electric baseboard setups. If that’s you, the other three upgrades below still work beautifully.
2. Shrink film for drafty windows
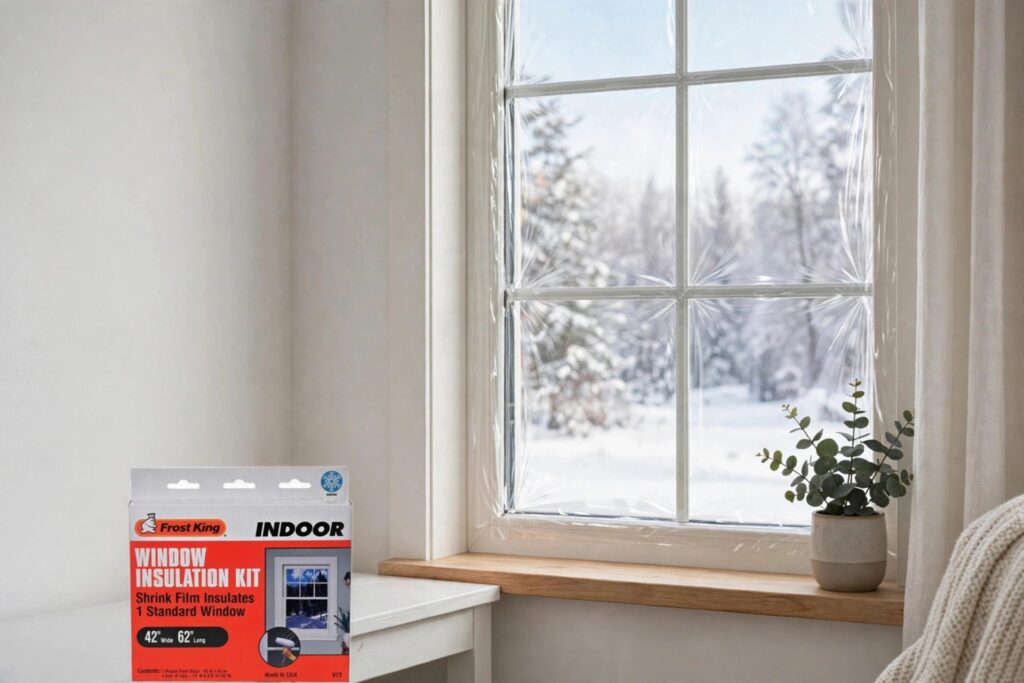
Stand near your windows on a cold night and you’ll feel it — older windows leak warmth like a slow puncture. A window insulation kit is the cheapest meaningful fix in this entire article: a crystal-clear film you tape to the frame and shrink tight with a hair dryer. Installed properly, it creates a still layer of air that can raise a single-pane window’s R-value by up to 90%, according to the manufacturer.
It’s invisible once installed, costs a few dollars per window, and takes about 15 minutes each. Renters, this one’s for you — it peels off cleanly in spring. My recommendation is the Frost King Indoor Shrink Window Kit, the long-running standard that keeps coming back every winter. One pack covers a standard 42″ × 62″ window; grab a few if you have more than one drafty room.
3. Smart plugs that stop silent electricity waste
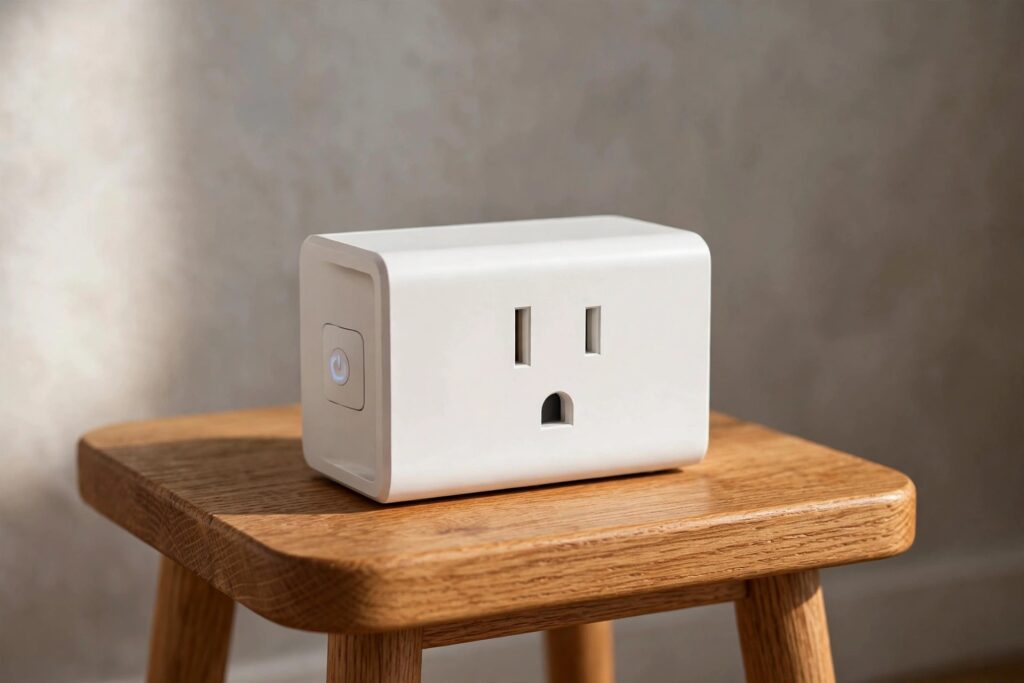
Heating isn’t the only thing draining your bill. Space heaters, humidifiers, and lamps left running in empty rooms add up quietly all winter. A smart plug turns any “dumb” device into a scheduled one: set your bedroom space heater to switch off an hour after bedtime, or your living-room humidifier to run only during the driest afternoon hours.
The Kasa Smart Plug Mini (HS103P2, 2-pack) is my go-to here. It’s compact enough not to block the second outlet, needs no hub (just your 2.4 GHz Wi-Fi), and works with Alexa and Google Home for voice control. Set schedules and timers in the Kasa app, and use away mode to make lights look lived-in during the darkest months.
The winter scenario I use most: a plug on the portable heater in my home office, scheduled on at 7:30 a.m. and off at 9:30, so I stop paying to heat a room I sit in for two hours. That’s the entire philosophy of this guide — heat the person, not the house.
4. Smart LED bulbs: light you actually need, when you need it

By late October it will be dark at 5 p.m., and the instinct is to switch every light on and leave them burning. LED bulbs already use a fraction of the energy of old incandescents; smart bulbs add scheduling and dimming, so the hallway light isn’t blazing all evening for no reason.
The Kasa Smart Light Bulb (KL125P2, 2-pack) is a strong value pick: 9 W delivering 60 W-equivalent brightness (800 lumens), dimmable, tunable from warm to cool white — warm white in the evening matters when the sun sets early — with energy monitoring built into the app. No hub needed, and schedules like “on at sunset, off at midnight” run themselves once set.
Two bulbs is enough to cover the rooms you actually live in after dark. Start there; you don’t need to smarten the whole house to feel the difference.
At a glance: the four upgrades compared
| Upgrade | Typical cost | Effort | What it saves | Best for |
|---|---|---|---|---|
| ecobee Smart Thermostat Essential | ~$140–$180 | 30–45 min DIY | Heating (your biggest bill) | Homeowners with forced-air HVAC |
| Frost King window shrink kit | A few dollars per window | 15 min per window | Draft heat loss | Renters & owners with older windows |
| Kasa Smart Plug Mini (2-pack) | ~$25 | 5 min | Silent electricity waste | Anyone with space heaters or humidifiers |
| Kasa Smart Bulbs (2-pack) | ~$19 | 5 min | Lighting waste in dark months | Anyone dreading 5 p.m. sunsets |
Prices are approximate and were observed on Amazon.ca on 21 September 2026; they change often, especially during fall sales. Rebates can bring the thermostat cost down further — check your provincial and municipal programs first.
One more upgrade, and it’s free
Before you buy anything: turn your thermostat down by one or two degrees and wear the sweater you already own. Most people can’t feel a 1°C difference when they’re moving around the house, but your furnace runs noticeably less over a whole season. It’s the calmest saving of all — no box to open, no app to install — and it makes every upgrade above work even better.
The quiet-winter checklist
If you do all four this weekend, here’s the order that makes sense:
- Film the drafty windows first — cheapest, fastest, immediate comfort.
- Install the thermostat — check your rebate eligibility before you buy, then set a schedule that matches your actual life.
- Plug in the smart plugs — put one on every device you tend to forget: space heater, humidifier, the lamp by the door.
- Swap the two bulbs you use most after dark — schedule them around sunset.
None of this requires a contractor, a big budget, or a smart-home degree. That’s the point. Winter in Canada is long enough without also being expensive — a few quiet upgrades, and your home works a little harder while you worry a little less.
This post contains affiliate links. If you buy through them, I may earn a small commission at no extra cost to you — thank you for supporting the blog.